Purpose:
Through this term you have learned some basics about coding for the Arduino microprocessor and connecting it to a sensor or driving an LED. You have gathered data and analyzed it using our python tools. All of this has been done with a fair amount of guidance and input from me. In this lab we will be exploring how one goes about using a new sensor or device with your Arduino on your own. What information do you need and how might you approach following a model from some source documentation.
Procedure:
- For this lab you will need your Arduino, a sensor that is not the TMP36 temperature sensor or the DHT11 sensor, your breadboard, and some jumper wires, and a bunch of other stuff. The Jupyter notebook (ArduinoSensor.ipynb) for this lab is on the github.
i) Choose another sensor or device from your Arduino package. This could be the photosensor, the ultrasonic ranger, the relay block, or others. Sensors (light sensors, temperature sensors, rangers, push buttons) are devices which take in information and actuators (relay's, buzzers, LED's) are devices which are controlled by the Arduino to perform some task.
ii) Any time you are using some new device it is worth your time to search for the datasheet that describes it. The datasheet will have way more information than you probably need but at the very least it will tell you which pins (legs) are for what purpose. It will also provide more specific information about the device that will help you better understand the circuit and coding for the device.
To find the datasheet I often search for the 'part number' with 'datasheet' and 'pdf'. The part number is sometimes printed on the part. Sometimes I have to describe the part (i.e. photoresistor). If you have trouble finding a datasheet for your device contact me.
Here is an example datasheet.
iii) Search for an Arduino tutorial for the device you wish to explore. There are many guides on the Arduino site as well as Adafruit. Be prepared to use multiple tutorials to make sense out of the wiring and the process. This can be pretty aggravating to make sense out of but that is part of the point of this lab.
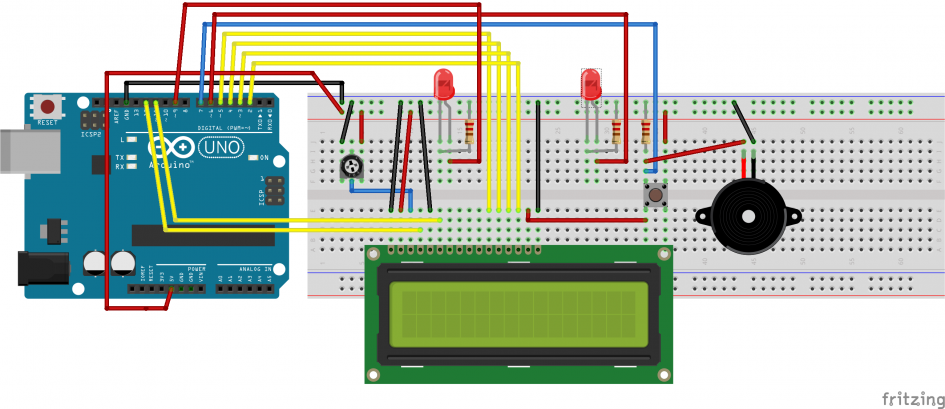
In many cases there will be a fritzing diagram, like the one below, showing the wiring diagram for your tutorial. I have seen important errors in these diagrams in the past. Take the time to track each wire from the Arduino to where it goes and be sure that it matches all the information you have before turning on your Arduino.
Here is an example of a tutorial that is well written.

iv) Copy and edit any sample code you find being sure to add your own rich commentary describing what each portion of the code is doing. In my experience many sample sketches are very poorly commented. One expectation of this class is that you understand why rich commentary in your code is important and can execute this idea.
v) Reflect on what you learned during this process. What aspects of reading the documentation or following the tutorials did you find challenging? What did you find unclear or even inscrutable in the sketch you found and edited?
- LAB DELIVERABLES:
-
I) In a Jupyter notebook provide links and descriptions of each stage of this process.
