Step 1:
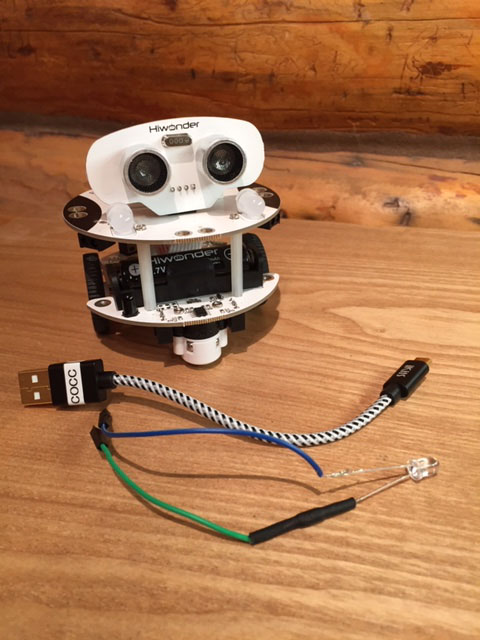
Start by taking your Qbot out of the lab kit. It should be assembled and look something like this. The other two objects are the power cord (mine is shorter than yours probably) and an LED assembly.
Step 2:
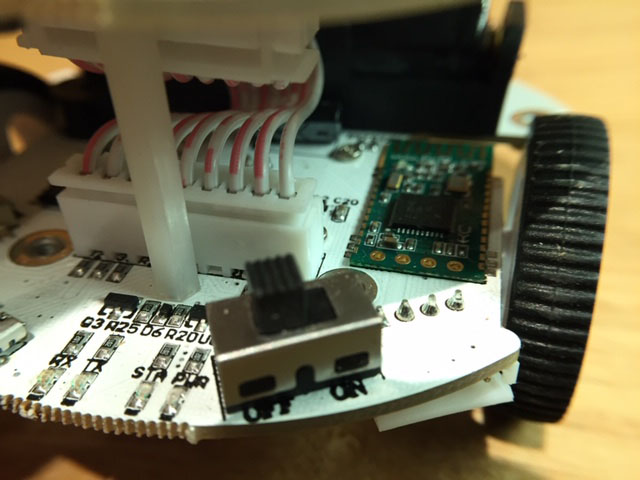
If you think of the Qbot as having a front (where the 'eyes' are) and a back you should find a slide switch at the back on the lower level. This is the power switch and it should be off. Just to the left of the power switch is a micro USB port exactly like the charge port on an Android phone (though NOT the same as an iPhone charge port). This is the port through which you access the Arduino to program it and it also charges the onboard battery.

 |
 |
Step 3:
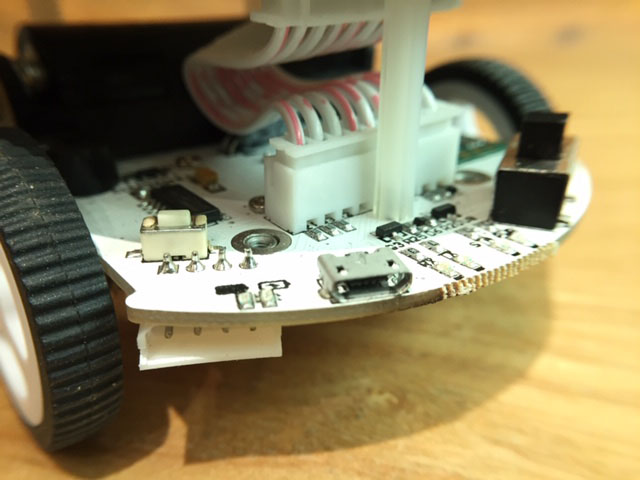
Plug your USB power/communication cable (USB to micro USB) in a USB port on your computer and into the micro USB port on the Qbot. You will probably see a red light come on to the left of the port. This indicates that the battery is NOT fully charged and the Qbot is drawing energy from your computer to charge the battery. If the battery on the Qbot is fully charged a green light show just to the left of where the red one is. If you have a weak battery on your computer you may well want to plug your charger into your computer while you are working with the Qbot. The red and green lights are tiny LED's (light emitting diodes) like the ones you buy in the store these days. We will refer to them as LED's from here on.
 |
 |
Moving on to the Arduino IDE Startup:
Once your Qbot is plugged in you can start up the Arduino IDE software. Because of the differences between operating systems it's hard to say precisely how/where you will find the software. It may be accessible from the dock on your computer or in the Applications folder. I trust you recognize this is a basic tech skill in this age but contact me if you're having trouble. You don't have to wait for the Qbot to charge before starting the software. The Arduino logo looks like this...

